ActiveX controls can be used on worksheet forms, with or without the use of VBA code, and on VBA UserForms.
ActiveX controls provide more flexible design requirements than those provided by Form controls. We can use ActiveX controls to customize their appearance, fonts, behavior and many other characteristics because of their extensive properties.
With ActiveX Controls, you can control different events that occur when an ActiveX control is initiated. You can perform various actions, depending on the user selection from the list box control, a combo box with items when a user clicks a button.
You can also write macros that respond to events associated with ActiveX controls. When a user of the form interacts with the control, VBA code then runs to process any events that occur for that control.
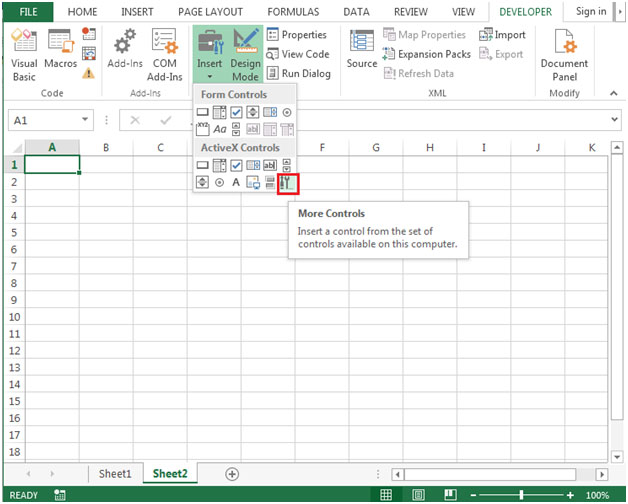
You will find ActiveX Controls under Developer ribbon


There are 11 ActiveX Controls available:
1. Command Button: Command buttons are also referred to as push buttons. You can assign a command button to automate the macro or some calculation of formulas.
2. Combo Box:Combo Box control is used to display a drop-down list of items. You can add items to the list of your choice & create drop down lists by using the ComboBox control.This control allows the user to select an item either by typing text into the combo box or by selecting it from the list. Combo box is appropriate when there is a list of options. A combo box contains an edit field; options that are not in the list can be manually entered. Combo box will take less space as full list is not displayed until the user clicks the down arrow.
3. Check Box:The check box control displays a check mark when it is selected. Generally, Check Box is used to show a Yes/No or True/False selection to the user. User can select one or more than one options at the same time.
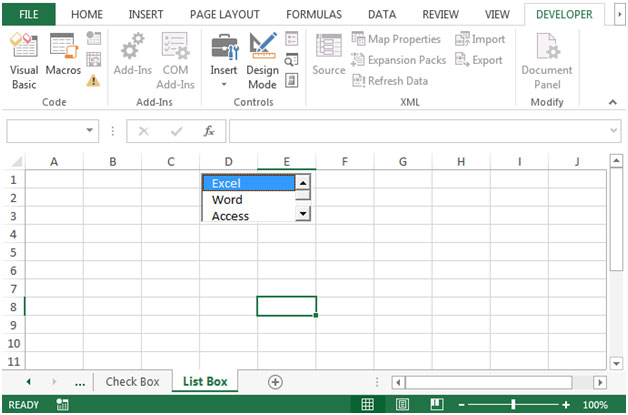
4. List Box:A list box control shows a list of items from which the user can select one or more at the same time. With list boxes, user can select an item from the list. By default, the choices are displayed vertically in a single column. User can set up multiple columns as well. A list box is appropriate when you want to limit input to what is on the list.
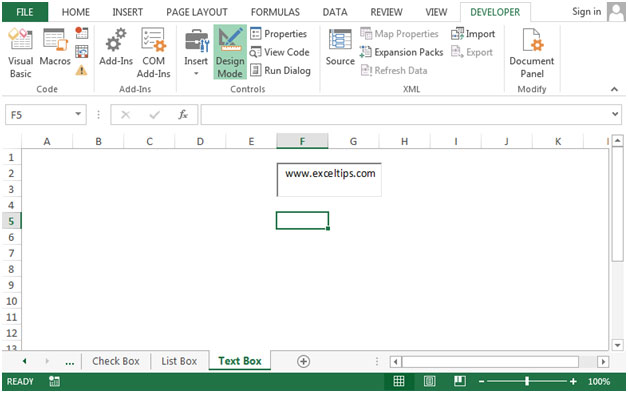
5. Text Box:The text box control is used to display information entered by the user at run time, or assigned to the Text property at design time. The text box control should be used for editable text. You can make it read-only, by setting its Locked property to True. In Text boxes, you can enter multiple lines.
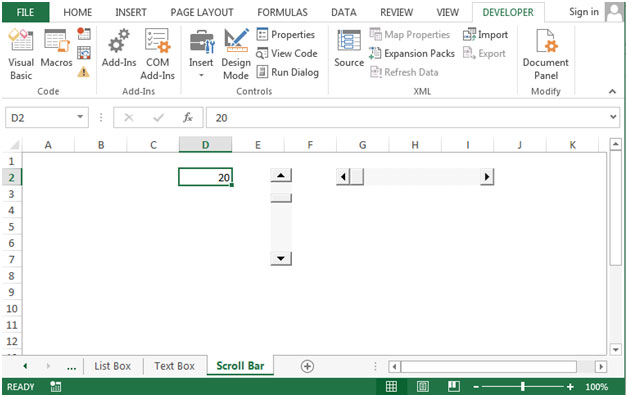
6. Scroll Bar: Scroll bars provide easy navigation with a large list of items by scrolling either horizontally or vertically.When you click the scroll arrows or up/down or sideways or drag the scroll bar, you can move through a page by clicking the scroll arrow. User can also manually enter a text value directly in the referenced cell.
7. Spin Button:A spin button can be used to increase or decrease a number in a cell. Spin button is useful for showing the minimum & maximum value of the set range.
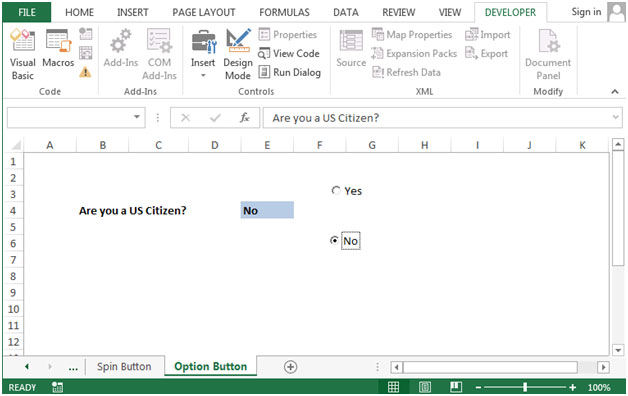
8. Option Button:'Option Button' can be used to select one option at a time. The important function of 'Option Button' starts when you select an option button, the other option button controls are unavailable. In cases where you have more than one option buttons, only one option button can be selected.
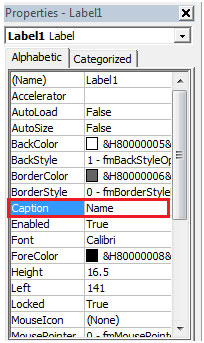
9. Label:Labels identify a control and its purpose.Labels provide a description of what will a control do if click. They are used to label controls that don't have their own Caption properties.
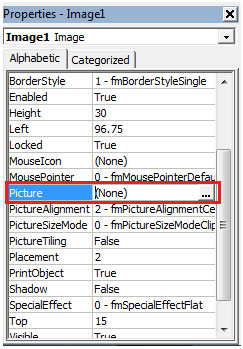
10. Image:The image control is used to display graphics. Image controls can be displayed inbitmap, JPEG or GIF files formats.
11. Toggle Button:Toggle button is used for hiding/unhiding a range of rows
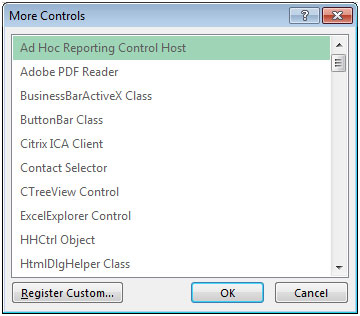
We will use each ActiveX Control to know how it works
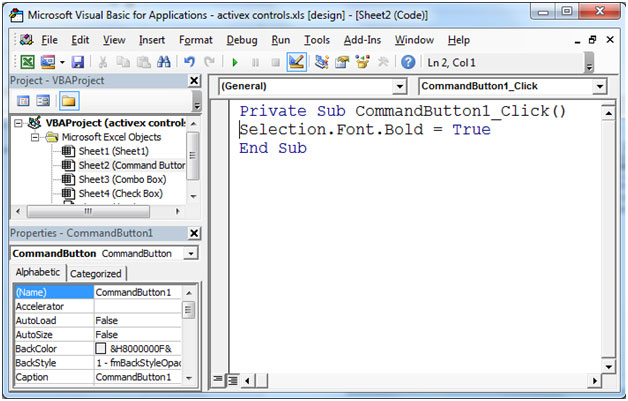
1) Creating Command Buttons
Private Sub CommandButton1_Click()
Selection.Font.Bold = True
End Sub


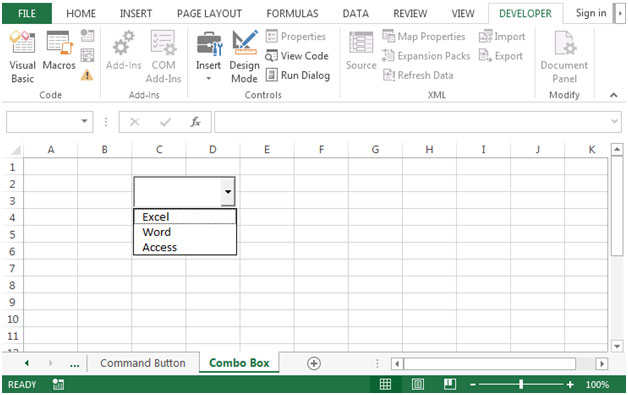
1) Creating Combo Box

Private Sub ComboBox1_Change()
With Sheet3.ComboBox1
    .AddItem "Excel"
   .AddItem "Word"
   .AddItem "Access"
End With
End Sub

2) Creating Check Box

Private Sub CheckBox1_Click()
If CheckBox1.Value = True Then Range("G2").Value = True
If CheckBox1.Value = False Then Range("G2").Value = False
End Sub


3) Creating List Box

Private Sub ListBox1_Click()
With Sheet5.ListBox1
    .AddItem "Excel"
    .AddItem "Word"
    .AddItem "Access"
End With
End Sub


4) Creating Text Box

Private Sub TextBox1_Change()
TextBox1.Text = "www.exceltips.com"
End Sub

5) Creating Scroll Bar


6) Creating Spin Button
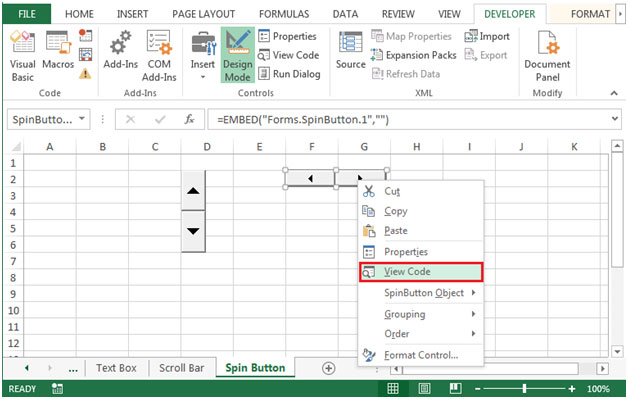
Private Sub SpinButton1_Change()
SpinButton1.Max = 100
SpinButton1.Min = 0
End Sub


7) Creating Option Button

Private Sub OptionButton1_Click()
If OptionButton1.Value = True Then Range("E4").Value = "Yes"
End Sub
Private Sub OptionButton2_Click()
If OptionButton2.Value = True Then Range("E4").Value = "No"
End Sub


8) Creating Label


9) Creating Image



The applications/code on this site are distributed as is and without warranties or liability. In no event shall the owner of the copyrights, or the authors of the applications/code be liable for any loss of profit, any problems or any damage resulting from the use or evaluation of the applications/code.