In this article, we will learn how we can reduce the used area in a sheet in Microsoft Excel. The vertical scroll bar gets shorter as the used area of a sheet grows larger thereby making it inconvenient to use. Reducing the size of the used area also reduces the size of the workbook.
Let’s take an example to understand how we can reduce the used area in a sheet.
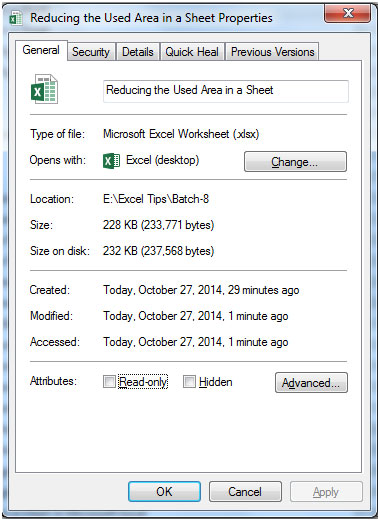
We have a worksheet, and the size of that worksheet is 228KB.

To reduce the file size, follow below given steps:-

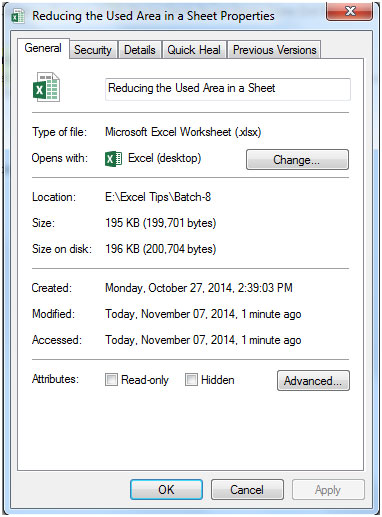
This way the data size will reduce from 228KB to 194KB in Microsoft Excel.
The applications/code on this site are distributed as is and without warranties or liability. In no event shall the owner of the copyrights, or the authors of the applications/code be liable for any loss of profit, any problems or any damage resulting from the use or evaluation of the applications/code.
Fantastic. Thanks to all participants for this terrific tool. I didn't know neither that one had to first save before seeing the incredible volume saving. I had a file with 23 sheets for a total og 7 MB. The sheet (only 1 ...) that included all these lines and columns was the "bad guy": my upgraded file is now 1,5 MB. I had in total more than 15 files => gain: 82,5 MB :-).
There is a typo (or perhaps, the product of a warped sense of humor? 😉 "Ctrl+Shit+Down"
Thanks for the great information!
Yes, Saving after the edit did have to be done for me as well before I could see the change. I still have more rows than desired, but not 1000's anyway!
Thanks for this! I was deleting the rows, but the area still wouldn't shrink. I didn't realize that you actually had to do a save before the shrink would actually take effect.
Yes! After saving in A1, it works! thank you!!
So much better. Good advice!
Thanks for this tip! Certainly works to reduce the working area once we save it.
"Get ASAP Utilities.
It does this and loads more.
It's free and can be downloaded at:-
www.asap-utilities.com
Don't know how I managed before I found it."
"Excel remembers the selected cell position and this can be useful for work that one wishes to resume at a later time or in cases where the same cells are used over and over.
Needless to say it can become a major annoyance to have to move the cursor before making a single entry if said entry is done dozens of times per day.
Could someone tell me how to make a cell become NULL (not an empty string) with VBA?
This would probably help solve the reliability problem of the above tip.
Thanks,
Louis Rousseau"
I have Excel 2002 running in WinXP. (In addition to your tip, some instructions say to select cell A1 before saving.) However I have found that this procedure is very unreliable and doesn't always work. (This has been after trying to insert columns which would be trying to push data off the sheet.) I have had to resort to copying all my data to a new Sheet to reduce the "used area". If you are aware of this problem, and know a way around it I would like to know. Cheers